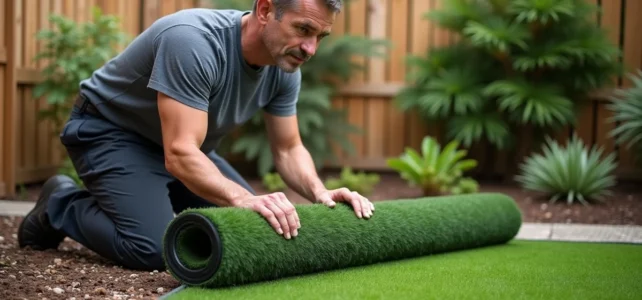
A synthetic lawn installed on poorly prepared soft ground will always end up buckling. The quality of the base affects the longevity, visual appearance, and resistance to foot traffic. Here, we detail the technical points that make the difference between a durable installation and a project that needs to be redone within two years.
Magnifying effect and thermal constraints: anticipate before choosing the location
Classic installation guides focus on earthworks but overlook a risk documented by several manufacturers: irreversible degradation of fibers due to the magnifying effect. A large window, a pool shelter, or even a plastic object left in the sun (float, inflatable mattress) can concentrate rays and locally melt the blades.
We recommend maintaining a minimum distance of two to three meters between the synthetic grass and any large south-facing glass surface. This parameter should be integrated from the measurement stage, even before ordering the roll.
This constraint has a direct consequence on the layout plan: if your garden borders a conservatory or a glass pergola, the installation direction and cutting area change. A layout that ignores solar exposure may sometimes require replacing an entire strip a few months after installation. Knowing how to install synthetic grass while considering these parameters avoids this type of costly redo.
Preparation of soft ground: stabilization and flatness tolerance
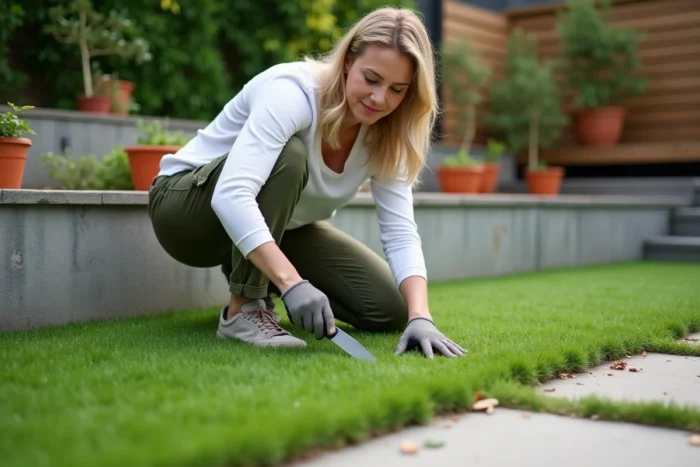
On earth or sand, the excavation must reach a sufficient depth to accommodate the stabilization layer without creating a buildup compared to existing borders. Excavating too little creates a bulge around the perimeter that is immediately visible after installation.
Leveling is not done by eye. We use a mason’s rail or a two-meter ruler to check flatness. The acceptable tolerance is around a few millimeters over a two-meter span. Beyond that, the joints between strips can come apart due to ground movement.
Compaction and sand layer
After excavation, the base is compacted using a roller or vibrating plate. The crushed sand layer (not river sand, which is too unstable) is then spread and leveled with a ruler. Compaction is done in two crossed passes.
Three common mistakes at this stage:
- Using round river sand instead of crushed sand. Round grains do not interlock, and the ground remains soft under load.
- Compacting a wet ground. Water trapped under the geotextile creates pockets that deform the surface as it dries.
- Neglecting the drainage slope. Synthetic grass is permeable, but the ground beneath must drain. A slope of a few percent towards a low point is sufficient.
Geotextile and joints: the details that determine longevity
The anti-weed geotextile is laid over the entire prepared surface, with an overlap between strips. Insufficient overlap allows weeds to pass through in a few months, especially on previously grassed ground where the quackgrass rhizomes remain active for a long time.
The geotextile does not replace rigorous prior weeding. If the ground has not been treated several weeks before installation (with pelargonic acid, acetic acid, or total herbicide depending on your tolerance for chemicals), the fabric will be pierced by the most vigorous regrowth.
Joints between synthetic grass strips
The joints are the weak point of any installation. On soft ground, we prefer a glued joint tape rather than simple stapling, which eventually gives way with ground movement. The direction of the fibers must be the same on each strip, otherwise the difference in light reflection makes the joint visible from a distance.
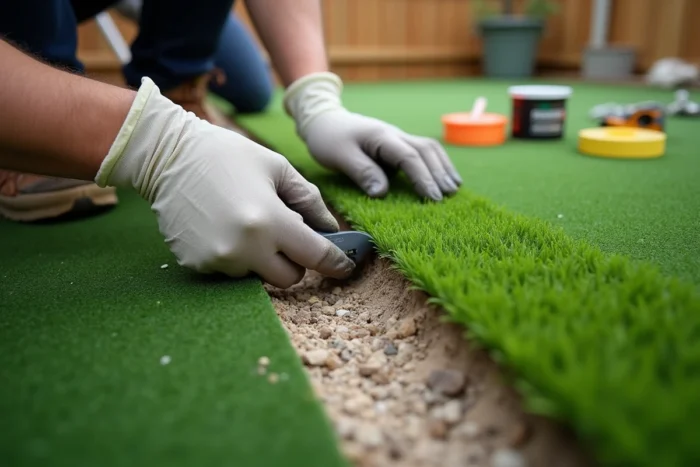
When cutting, use a curved blade cutter and cut from the back of the roll. Cutting from the front severs the fibers and creates a sharp demarcation line at the joint. This detail, rarely mentioned in public tutorials, radically changes the final appearance.
Peripheral fixation and compatible maintenance products
The perimeter fixation is done with metal stakes driven in at approximately thirty-centimeter intervals, at an angle, to withstand pulling forces. In wind-exposed areas (coastal zones, elevated gardens), we double the fixation with weighting around the perimeter under the grass return.
One point that installation guides consistently overlook: some common maintenance products degrade synthetic fibers. Manufacturers strongly advise against bleach, solvents, corrosive products, and high-pressure jets. If your grass borders a pool, ensure that chlorinated water splashes do not stagnate on the surface.
- No barbecue or fire pit placed directly on the grass. Embers cause irreparable holes in the weave.
- Plastic objects (toys, tarps) left in the sun on the artificial lawn concentrate heat and deform the fibers.
- Regular brushing of the fibers (stiff-bristle brush, against the grain) maintains the fluffiness and prevents permanent flattening in high-traffic areas.
Brushing after the initial installation straightens the fibers crushed by the roll packaging. This operation, performed in the days following installation, gives the grass its final appearance. Unbrushed grass retains a flattened look that does not disappear naturally with foot traffic.
The durability of synthetic grass depends less on the quality of the product than on the rigor of the installation. Poorly compacted ground, poorly covered geotextile, or a sloppy joint will always show in the first two years. It’s better to spend an extra day preparing the ground than to have to remove everything to correct a sinking issue.